Convert a Song
How to Convert a Song to MP3 Using iTunes

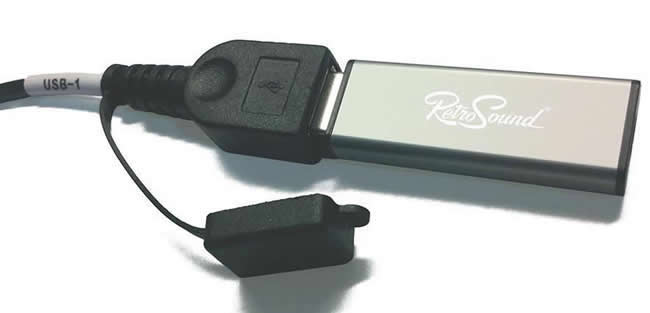
In today's digital world, we can put thousands of songs on a USB drive and carry them anywhere. USB drives are also known as flash drives, memory sticks, jump drives, thumb drives and USB sticks. Most USB drives offer between 4gb and 16gb of storage. For a standard 4gb USB drive, you can fit around 1,000 songs (with an average of 3.5 minutes per song).
In contrast, a compact disk only holds 10-15 songs, and an MP3 CD only holds around 150 songs. Simply plugging a USB drive into your car stereo unlocks hundreds – or even thousands – of hours of music. With RetroSound, you can have this same convenience in your classic car. USB drives will work with any RetroSound classic car radio except for Laguna and Retro Classic. Apple products have taken over a large chunk of the market, with most people using iTunes to manage their music on their personal computer.
Many people try to copy their iTunes music folder onto a USB drive, then wonder why the files won't play. RetroSound radios will play MP3 files, but iTunes files are MP4s. These MP4s will not work with most MP3 players or with most car audio systems – including RetroSound. Luckily, it's fairly easy to convert these files to MP3 using iTunes. So before you copy your iTunes music library to your USB drive, follow these procedures to convert your songs to MP3 format.
Step 1 First, open iTunes and go to Preferences. For Microsoft Windows: Choose Edit > Preferences. For Mac: Choose iTunes > Preferences.
Step 2 Next, click select General, then choose Importing Settings on the lower section of the window.
Step 3 Select Import Using, and from the pop-up menu, select the MP3 as the encoding format, then click OK to save the settings.
Step 4 Now select the music in your library that you wish to convert, and go to File > Create New Version. Now you should see a list of file formats you can create. You will want to choose "Create MP3 version" in the list that opens up. If nothing has been imported into your iTunes yet, you can import and convert them at the same time. This will create a converted copy of the file in your iTunes Library based on your iTunes preferences that you set above.
To convert all the songs in a folder or on a disk, hold down the Option key (Mac) or Shift key (Windows) and choose File > Create New Version > Convert [import preference setting]. The Import preference setting will match what you chose in Step 3 above. iTunes will prompt you for the location of the folder or disk you want to import and convert. Every song in the folder or on the disk will be converted. To find the files you just created, simply use the Windows Start button (Windows) or Spotlight (Mac). On a Mac, simply type the name of the file, and it will appear in the Finder.
If more than one version appears, copy the file that ends with ".mp3." On Windows, you should see the search programs and files box. Type "*.MP3" without the single quotes. you should see a list of all your mp3s. Now you can open the file location by clicking on the top of the list or by left clicking the first mp3. Then while holding down the shift key, click the last one in the list. All of them should be highlighted. Now, right-click and select copy. Insert your flash drive, and open the folder to view its contents. Just right click the open area in the flash drive folder. You should see "Paste" as an option in the drop down menu. Select "Paste," and the MP3 files will copy to the flash drive.
